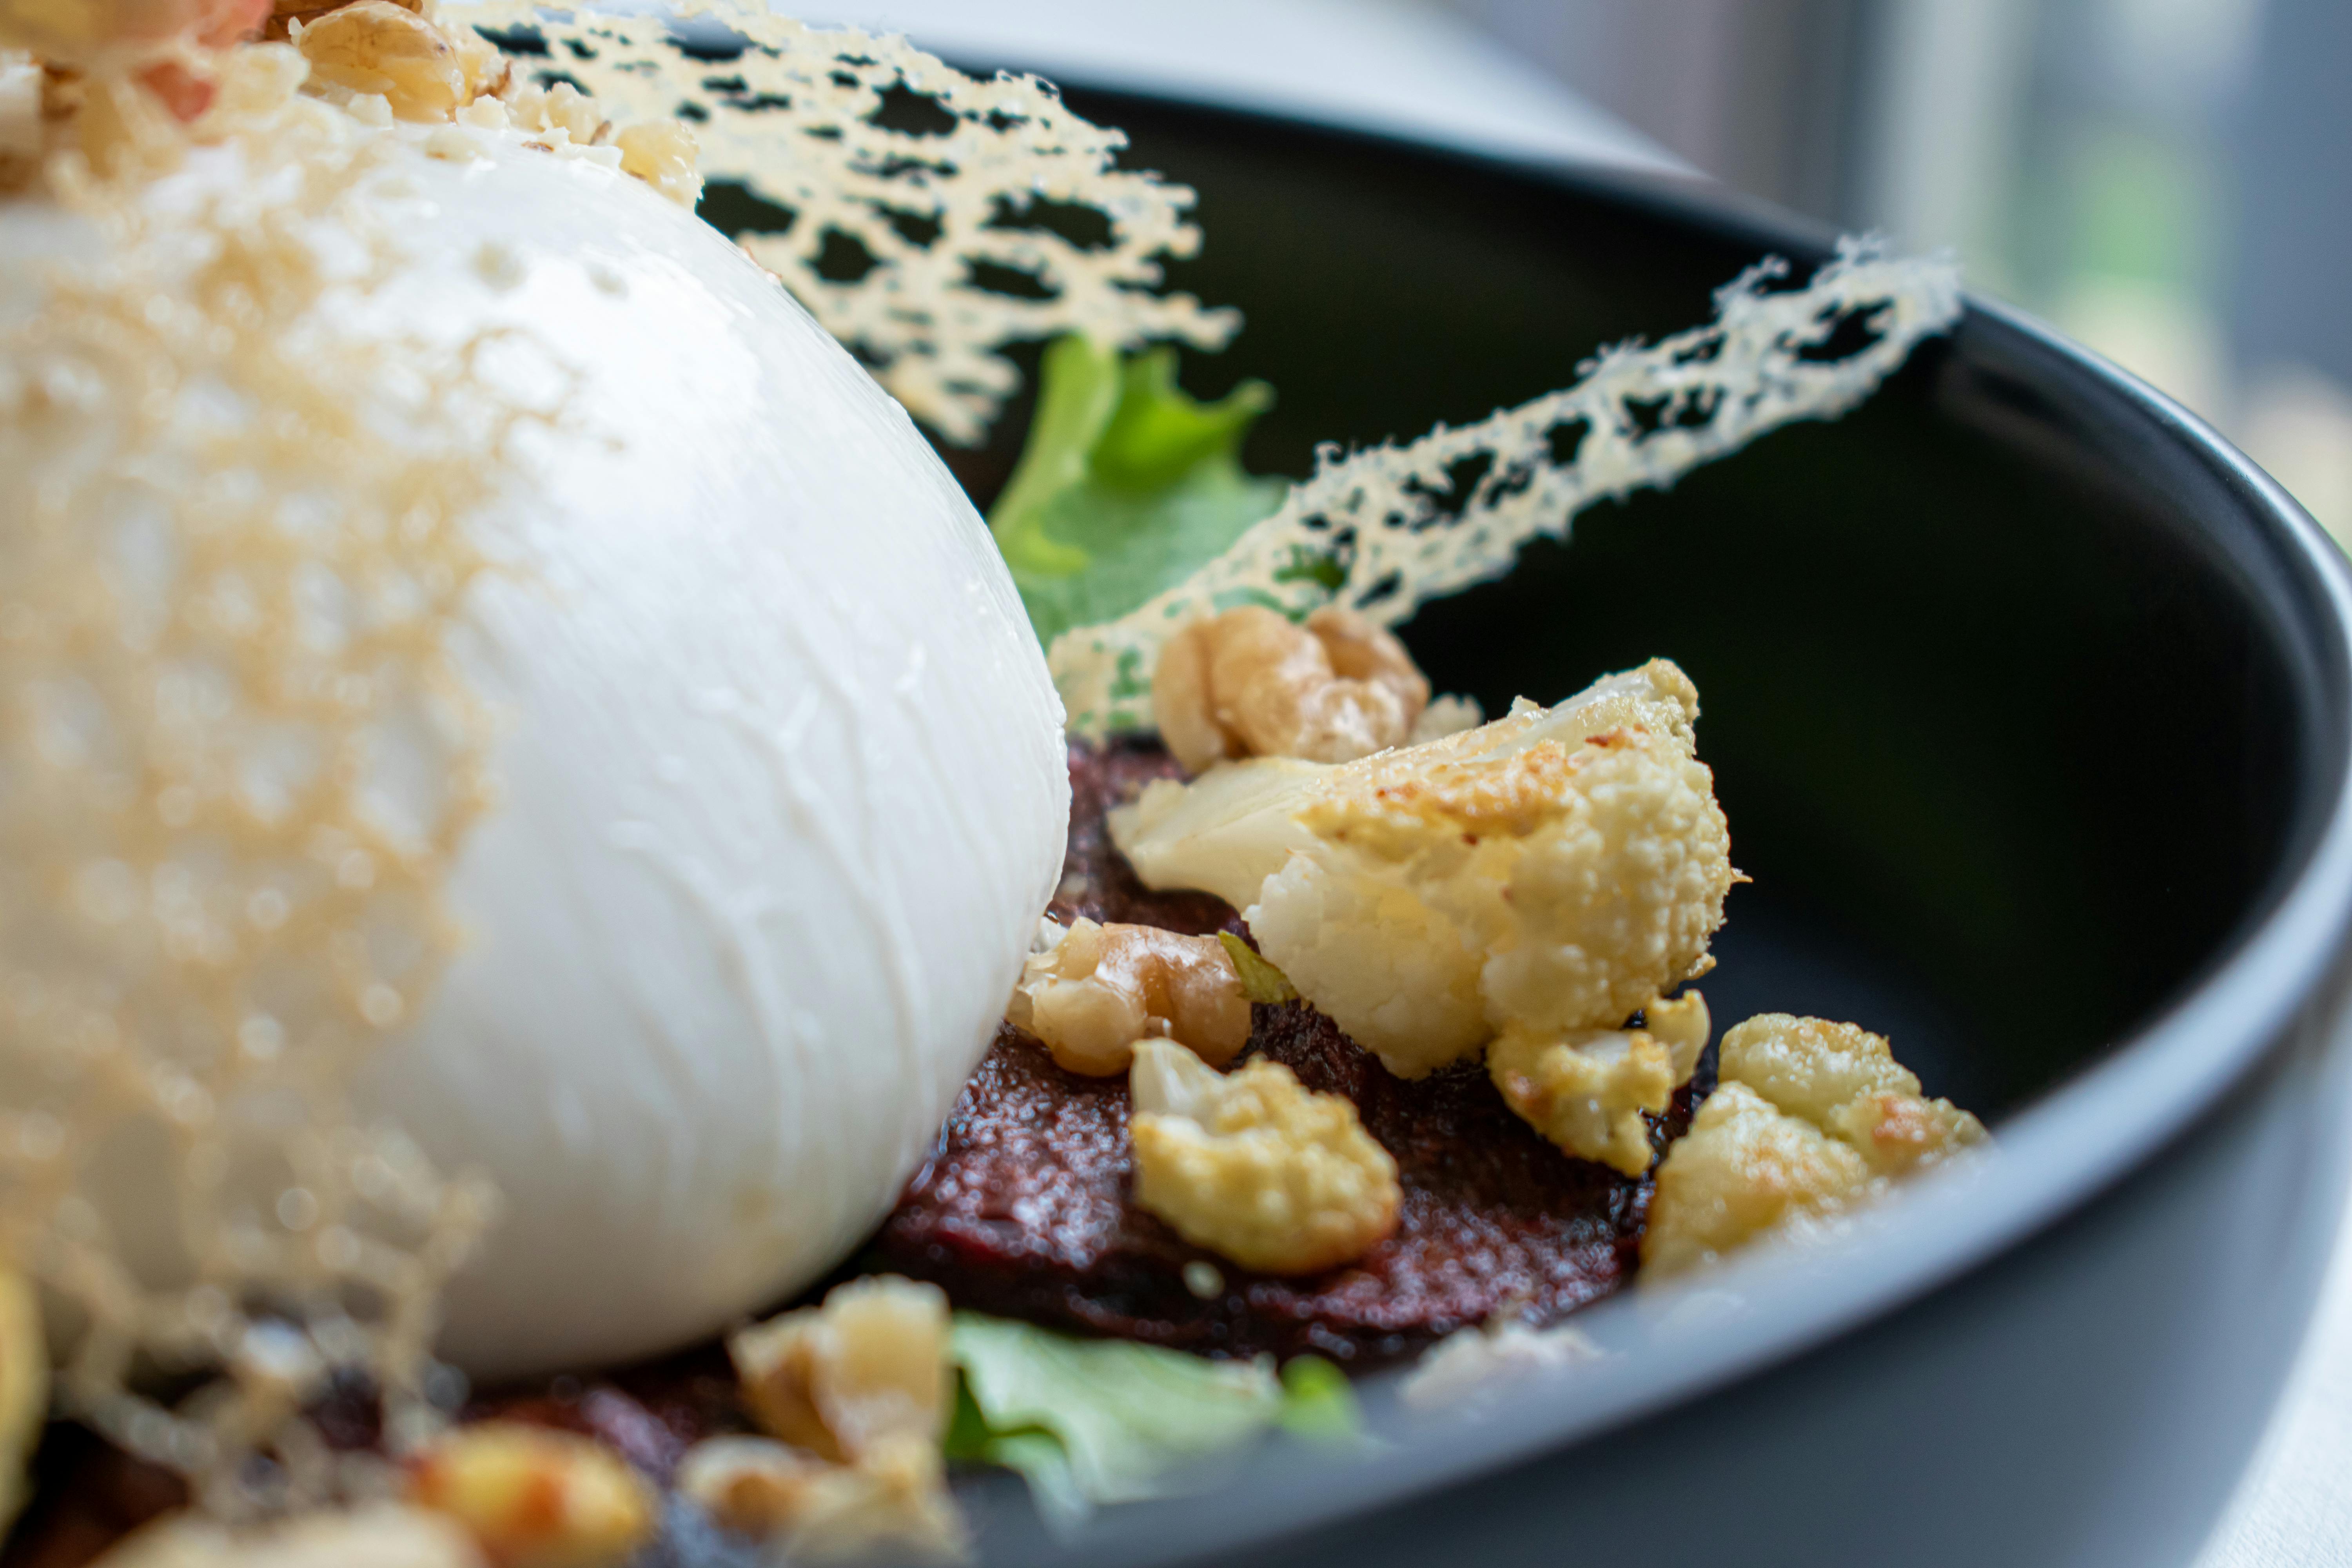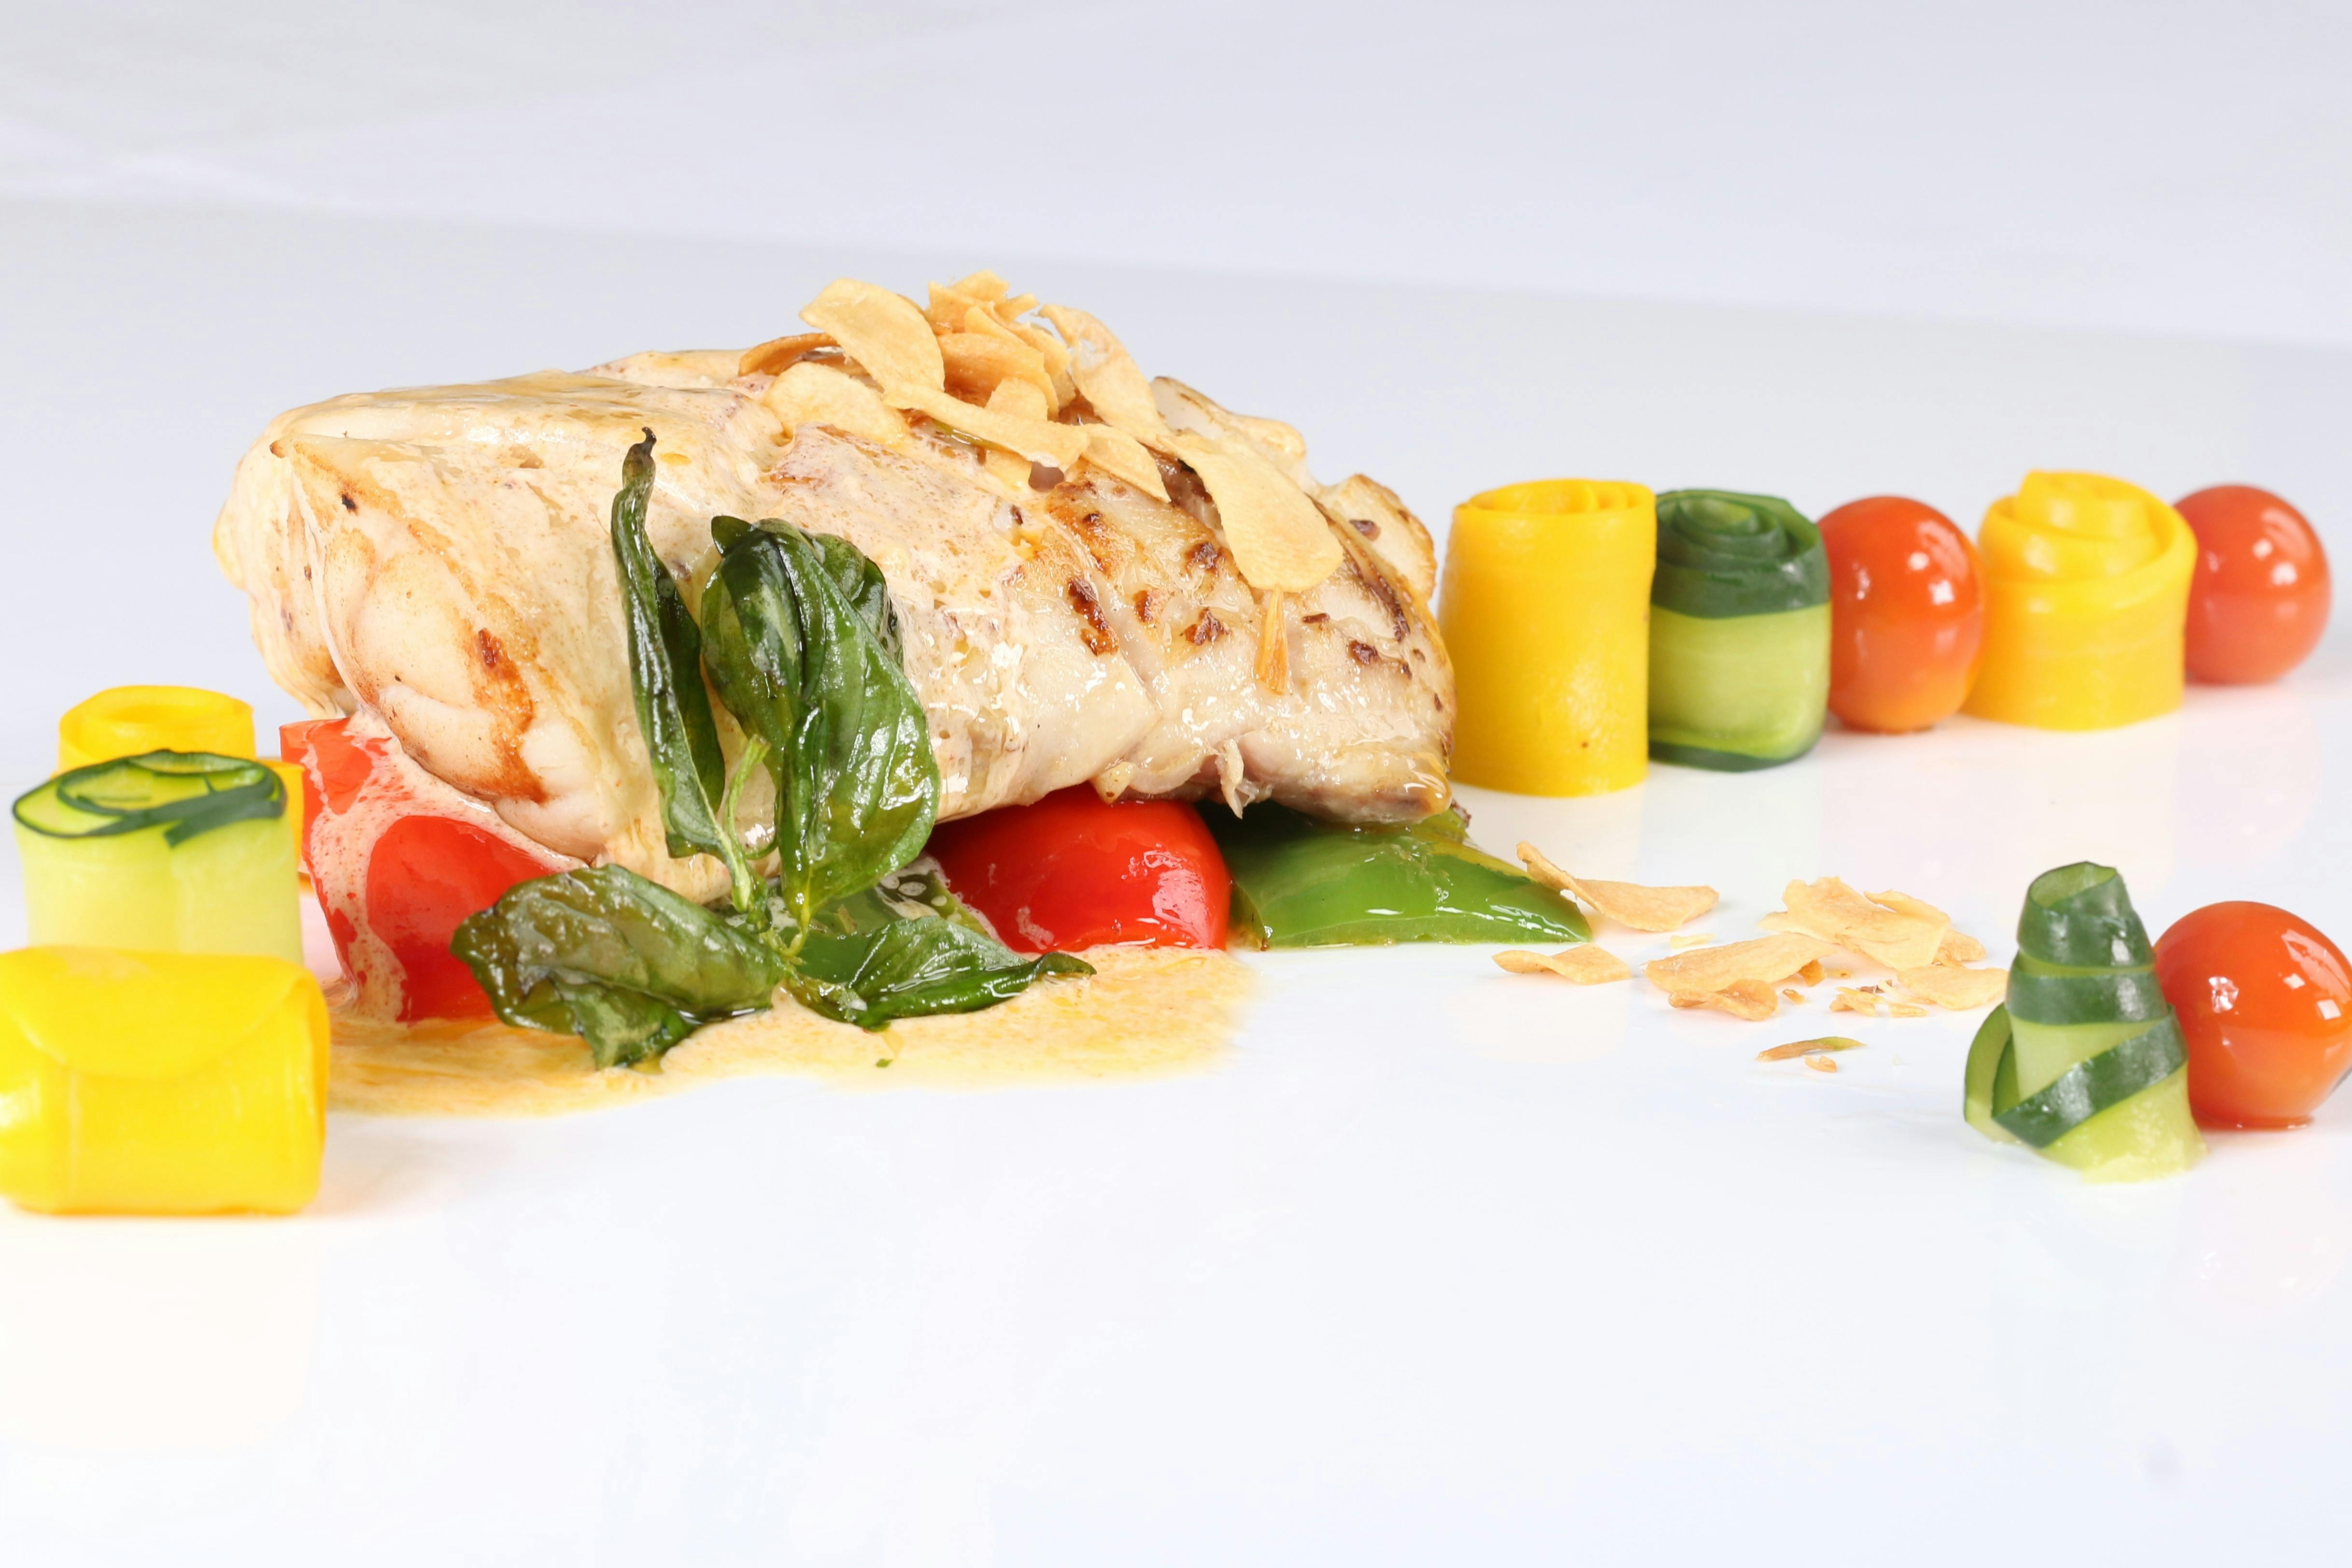
Adding blocks of salt in your kitchen area to cook delicious food is a great idea. Enhance and add a special flavor to your delicious seafood or cold sashimi and make it more enjoyable for your guests this summer.
Wait a second and check it out first.
In addition to a general cooking pan, which you can buy from the market and get started right away without worrying about instructions, you will need to understand the use of Himalayan salt blocks before grilling your food. It is unlikely, if you don’t like going to manuals then it would be nice to go with the normal skillet.
The best part is that it only takes a span of your time to understand what exactly it is and how you should use it, and by the time you are done reading this article, you will almost be an expert.
Himalayan Salt Block Tiles
Here, you will get instructions or things you need to know for caring for these tiles. Take your precious time to read and run them to taste amazing.
# 1: salt dishes aren’t for you if you can’t follow directions
If you can’t dig up details or don’t have the patience to learn things first, then you should stay in the normal kitchen pan. Don’t use salt blocks as they need specific care and you can get frustrated with your purchase if you don’t follow the instructions.
In a hurry or without learning things, you can end up ruining the taste of your food, or in the worst case, you can “explode” your block of salt. Again, this will only happen if you don’t follow the instructions.
# 2: Imperfect trenches in Salt Tiles are fine
These blocks of salt develop naturally in the deep mines of the Himalayas, which is why they have characteristic lines, trenches or even cracks.
Himalayan Salt Blocks Suppliers And exporters review them and mine carefully. Those that are not for cooking and grilling are immediately removed from the collection. For greater authenticity, others are removed from the collection, when they do not survive the first recording process to which they are subjected.
Even after such a rough process, Salt Blocks will have some sets of lines or trenches, which are due to their natural shape and look more attractive because of them.
# 3: Himalayan salt tiles require tempering
Although Himalayan salt tile suppliers used to temper their products before exporting them to retailers, it still makes sense to temper a new one on the safe side. Tempering will make the tiles more durable and resistant.
Salt tiles are versatile in nature, they can withstand being heated or cooled to really high temperature levels. But for it to be durable, you need to do it SLOWLY.
Track the process by increasing or decreasing the temperature too fast, it will surely break your lock. And if your block has a little water or moisture in it, it may cause the explosion.
Follow the exact steps in the same flow:
-
Insert your block of salt in the oven
-
Start with the minimum temperature and wait for about 30 minutes.
-
After time, increase the temperature by 70 degrees and wait again for about 30 minutes.
-
Repeat these steps until you get over 500 degrees.
-
Now, stop the oven and wait until the block of salt cools down (remember, don’t open the oven door until the tile cools down).
Don’t try to track the flow path, if you don’t want to break your Himalayan salt block.
Don’t even worry about creaking during the tempering process, that’s natural. Sometimes you can also see some lines after the process.
# 4: Correct Heat Required For Salt Blocks
Like the tempering process, there are a few things to remember when you heat your Salt Tile.
-
Requires COMPLETE DRYING for at least 24 hours.
-
There should be some air flow between the salt tile and the flame.
-
Always remember patience and start with the lowest temperature.
-
Turn the heat to low and wait 15 to 20 minutes.
-
Now, increase the temperature to medium and again wait the next 15 to 20 minutes.
-
After that, increase the temperature to high and wait again for the next 15-20 minutes.
# 5: heat the block of salt to 500 degrees
You can measure the temperature of your salt tile through a laser thermometer to get an accurate knowledge about heat. For a better taste and a better cooking experience, you should keep the temperature high and remember, do not try to touch your Salt Tile as it retains heat longer.
Keep in mind that the right temperature is a must to get the right heat. If you do not heat the tile to the proper temperature, the food will not cook properly or it may ruin its taste by being too salty.
# 6: don’t spread more oil on the salt tiles
Don’t try pouring tablespoons of oil on your Himalayan salt tile, which you used to make in a regular skillet. You can spoil your tile by getting into the cracks. It can even catch fire during the grilling process, or if it doesn’t, it will stink after a bit of cleaning.
Instead, you should drizzle or oil the food you are cooking. This will make your food more delicious, for the perfect taste of salt, and will keep exposure to a minimum.
# 7: Don’t put it in water or use the dishwasher.
Himalayan salt blocks contain natural salt and can be idealized as a large lump of solid salt. So if you put it in the dishwasher, the salt will liquefy into water. Therefore, do not try to clean it under running water or immerse it in a sink.
So now the question is how will you clean it?
Well, you don’t need to clean it like your regular kitchen. Salt is a natural antimicrobial and antibacterial, so you don’t need to apply any other cleaning agents to clean it.
You just need to rest and wait 3 or more hours until your salt slab cools down. Once it’s done, wipe it clean or you can use a scouring pad to remove blackened food debris. After that, you can use a damp sponge. Now, dry it with an absorbent cloth and then put it in an airy place to dry COMPLETELY.
Summarize the words!
Don’t be in a rush or lazy not to try the instructions or don’t think it’s a disaster. Once you followed the flow of instructions, it was easy for you. You can follow the online channels of experts or ask your questions through different forums. Once you get into the process and understand what you are doing, it becomes the easiest way to pour a delicious salt flavor into your food.